Setting up Postman
We have made a Postman collection for Avalanche, that includes all the public
API calls that are available on an AvalancheGo instance, including environment variables,
allowing developers to quickly issue commands to a node and see the response, without having to
copy and paste long and complicated curl commands.
What Is Postman?
Postman is a free tool used by developers to quickly and easily send REST, SOAP, and GraphQL requests and test APIs. It is available as both an online tool and an application for Linux, MacOS and Windows. Postman allows you to quickly issue API calls and see the responses in a nicely formatted, searchable form.
Along with the API collection, there is also the example Avalanche environment for Postman, that defines common variables such as IP address of the node, Avalanche addresses and similar common elements of the queries, so you don't have to enter them multiple times.
Combined, they will allow you to easily keep tabs on an Avalanche node, check on its state and do quick queries to find out details about its operation.
Setup
Postman Installation
Postman can be installed locally or used as a web app. We recommend installing the application, as it simplifies operation. You can download Postman from its website. It is recommended that you sign up using your email address as then your workspace can be easily backed up and shared between the web app and the app installed on your computer.
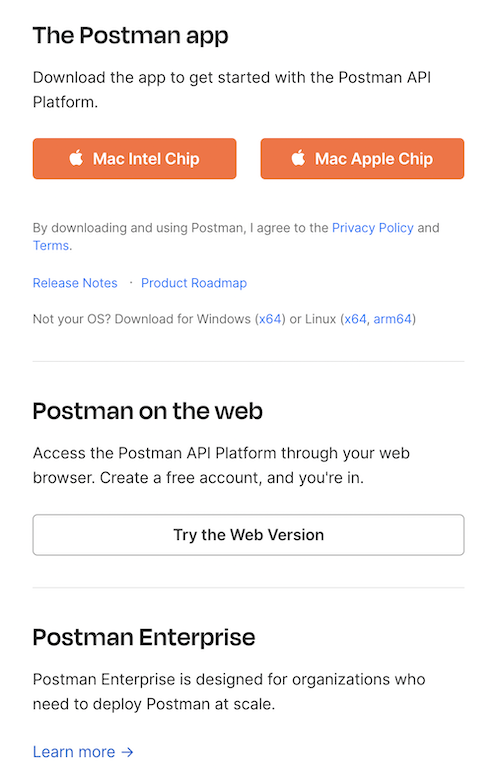
When you run Postman for the first time, it will prompt you to create an account or log in. Again, it is not necessary, but recommended.
Collection Import
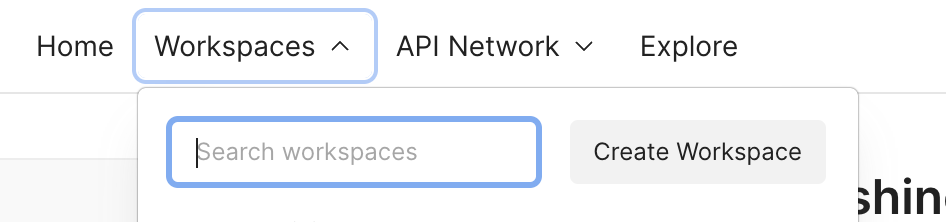
Select Create workspace from Workspaces tab and follow the prompts to create a new
workspace. This will be where the rest of the work will be done.
We're ready to import the collection. On the top-left corner of the Workspaces tab
select Import and switch to Link tab.
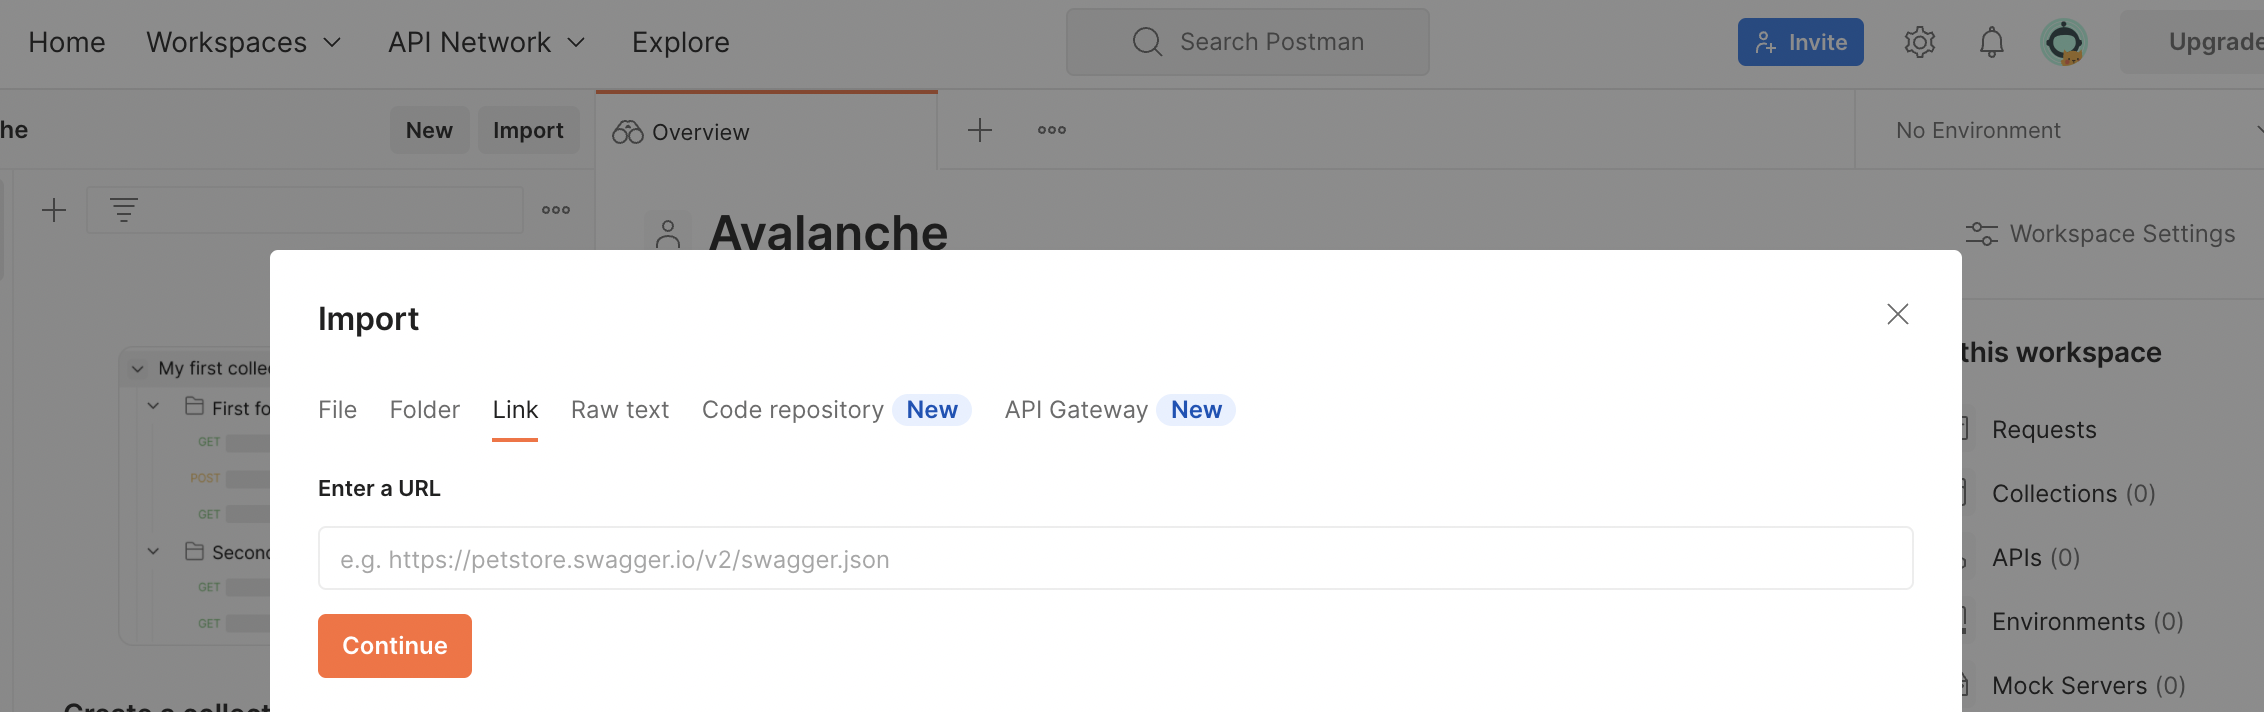
There, in the URL input field paste the link below to the collection:
https://raw.githubusercontent.com/ava-labs/avalanche-postman-collection/master/Avalanche.postman_collection.json
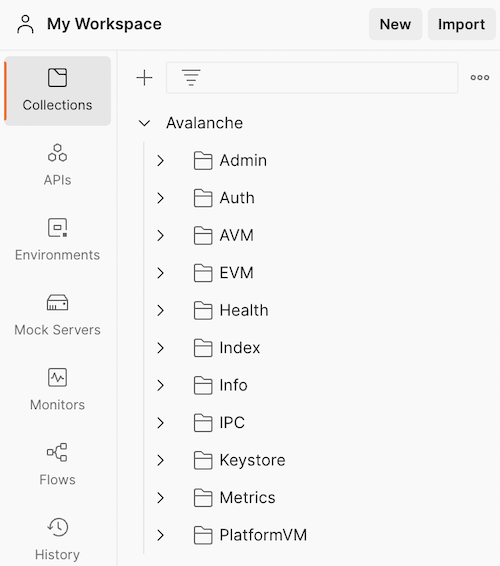
Postman will recognize the format of the file content and offer to import the file as a collection. Complete the import. Now you will have Avalanche collection in your Workspace.
Environment Import
Next, we have to import the environment variables. Again, on the top-left corner of the Workspaces tab
select Import and switch to Link tab. This time, paste the link below
to the environment JSON:
https://raw.githubusercontent.com/ava-labs/avalanche-postman-collection/master/Example-Avalanche-Environment.postman_environment.json
Postman will recognize the format of the file:

Import it to your workspace. Now, we will need to edit that environment to suit the actual parameters of your particular installation. These are the parameters that differ from the defaults in the imported file.
Select the Environments tab, choose the Avalanche environment which was just added. You can directly edit any values here:
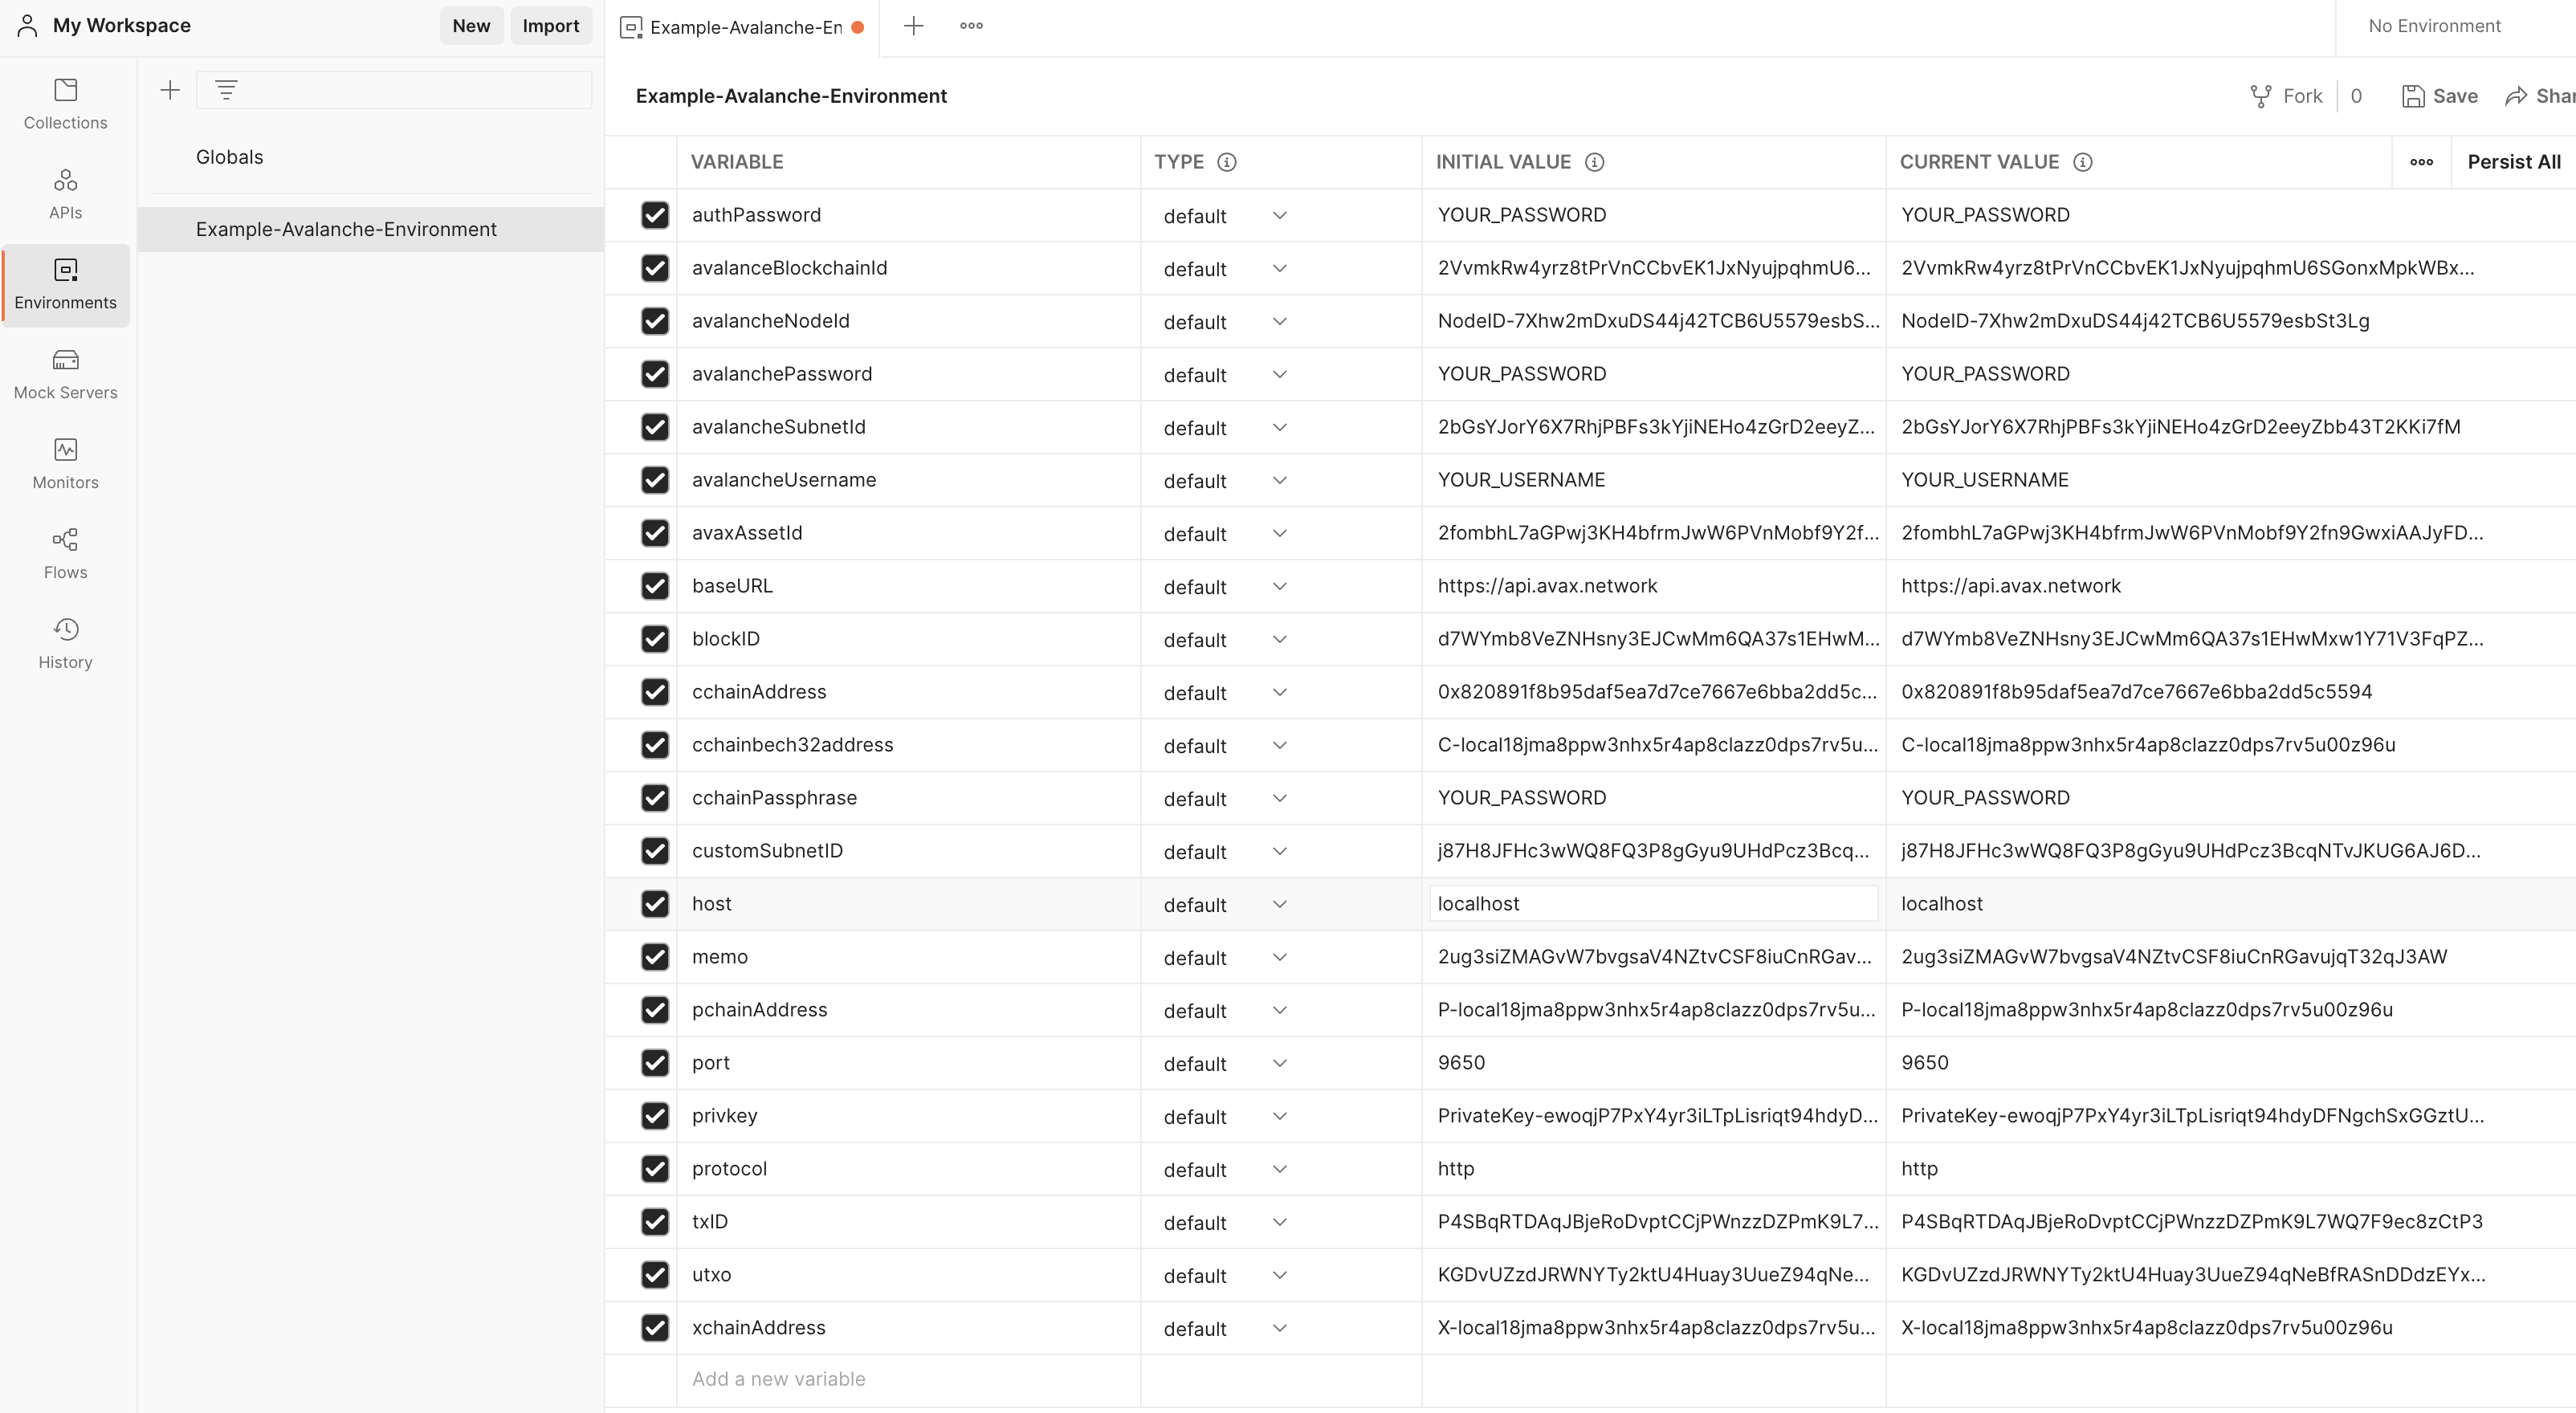
As a minimum, you will need to change the IP address of your node, which is the value of
the host variable. Change it to the IP of your node (change both the initial and current
values). Also, if your node is not running on the same machine where you
installed Postman, make sure your node is accepting the connections on the API
port from the outside by checking the appropriate command line option.
Now we sorted everything out, and we're ready to query the node.
Conclusion
If you have completed the tutorial, you are now able to quickly issue API calls to your node without messing with the curl commands in the terminal. This allows you to quickly see the state of your node, track changes or double-check the health or liveness of your node.
Contributing
We're hoping to continuously keep this collection up-to-date with the Avalanche
APIs. If you're able to help improve the Avalanche Postman Collection
in any way, first create a feature branch by branching off of master, next make the
improvements on your feature branch and lastly create a pull
request to merge your work
back in to master.
If you have any other questions or suggestions, come talk to us.
Was this page helpful?