Preparing NFT Files for an ERC721 Smart Contract
The first step of setting up an NFT smart contract is having your NFT files ready to use. In this example, the files will get uploaded to Pinata, a pinning service that prevents files from being garbage collected on IPFS. If you don't already have an account, please create one.
Preparing the Images
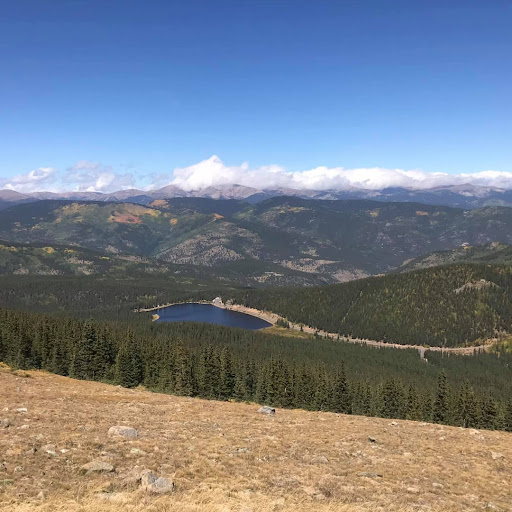
This tutorial will create only 1 NFT, however, if you're interested in creating more, you're more than welcome to do so. The image I'm using is linked here if you'd like to use it.
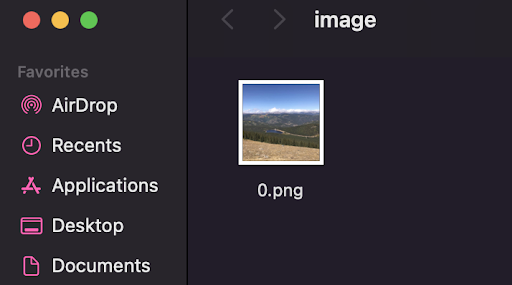
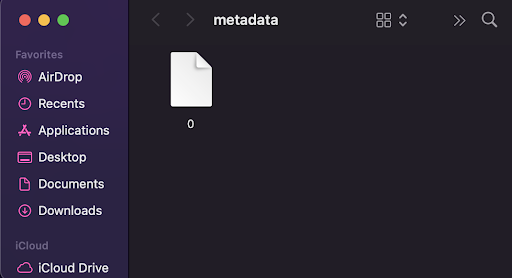
Place your image file in a folder on your computer. Name this image 0, so
it'll be the first image pulled from the smart contract. it'll be the first (and
only) NFT in this collection, however, if you're adding more images you'd
continue naming them in sequential numeric order. you'll upload this folder to
Pinata once your images are organized and named correctly.
NOTE: Some projects start file names with 0, and others with 1. That choice
will need to be consistent with the smart contract code. To be consistent with
this ERC-721 tutorial, we'll name this file
0.
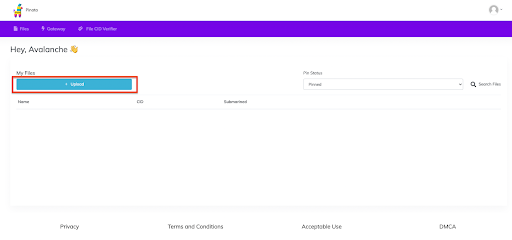
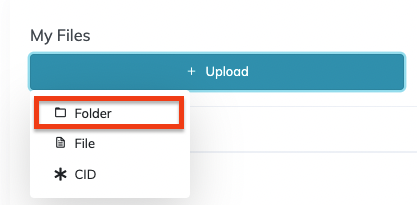
After you log into Pinata, you'll see your dashboard. you'll see the upload
button on the left. Click Upload, and then Folder.
You'll then select the folder that the image is in. You may get a pop-up from
your browser confirming you want to upload the folder and the files in it. If
you do, confirm by clicking Upload.

You'll then be prompted to name the folder you've uploaded. This is beneficial
when you have several sets of folders uploaded to Pinata and are trying to keep
them organized. After giving it a name, click Upload and wait for your file to
upload. The quantity and size of the images could affect the upload time, but if
you're starting small, it should only take a few seconds.
Once the upload is complete, you'll see your folder in your dashboard.
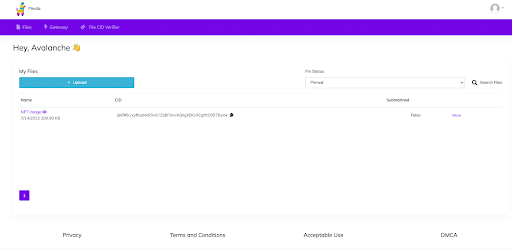
If you click on the folder name, it'll redirect you to the Pinata gateway to be able to view your newly uploaded files. If you have a paid Pinata account, it'll open the folder through your own gateway. Having a paid plan and personal gateway is NOT required for this tutorial but is recommended to have for larger collection sizes and hosting multiple folders.
If you right-click on the image, you can copy the image’s url. This URL is
important. Copy this down to use in the next step as we set up the metadata. For
this example, my URL is
https://gateway.pinata.cloud/ipfs/QmPWbixyMsaNkR9v612bBFbncKGmgXDKz9CgMtDDD7Bymw/0.png
Preparing the Metadata
Now that we have the image uploaded and its URL, we can create the matching metadata file for it.
Where this NFT is going to be an ERC-721, we know we can use metadata standards often found on Marketplaces such as Joepegs.com. The .json file below is an example of what the metadata should look like.
{
  "name": "",
  "tokenId": 0,
  "image": "",
  "description": "",
  "attributes": []
}
Now, we'll populate the values into the metadata file. You can choose any name
and description that you want.
The tokenId here will be 0 so that it corresponds to the image we just
uploaded. If uploading multiple files, this needs to be incremented in each
file.
The image link is the URL we saved from the last step of the previous section.
Paste that link here so the smart contract knows where to find the image file
for your NFT. If uploading multiple files, the end of the URL (the specific
image) needs to increment in each file.
The attributes field isn't quite as important here, but if you were uploading
NFTs with several layers, the attributes would be the information of those
specific layers. This is often used when calculating the rarity of NFTs to be
able to rank them by how frequently their layers appear throughout the entire
collection. it'll be erased in this tutorial.
Below is an example of how you'd fill out the fields in the metadata file.
{
  "name": "Cool Photography",
  "tokenId": 0,
  "image": "https://gateway.pinata.cloud/ipfs/QmPWbixyMsaNkR9v612bBFbncKGmgXDKz9CgMtDDD7Bymw/0.png",
  "description": "A cool image"
}
When saving this file, you want it to share the same name as the image it corresponds to. In this case, it is 0.
Once the metadata file is uploaded to Pinata, the file extension will actually not be needed. it'll search for the file as a directory and be able to pull its information from there. To remove the file extension, follow these steps for a Mac environment, or these for a Windows environment.
Now that the file extension has been removed, place it in another folder as you did with the image file. They need to be SEPARATE folders.
You'll now repeat the folder upload process to add the metadata to Pinata. Follow the same steps as above. Once completed, you'll have both folders available on your dashboard.

Click on the metadata folder to be directed to the IPFS gateway and save the
URL. This URL will be your base URL and won't need the direct file links. The
smart contract will append the necessary file information for each NFT as
needed. For example, my URL is
https://gateway.pinata.cloud/ipfs/QmYdWxbiwsfsYcW1CYQPgYujAc9FMLPG3fgFcxFskbSsFa.
Now that the image and metadata files are ready, we can prepare to deploy a smart contract by following this ERC-721 tutorial.
Was this page helpful?